Lambda is a tool designed to process images of photometric stereo scanning.
Basics
- Download Lambda
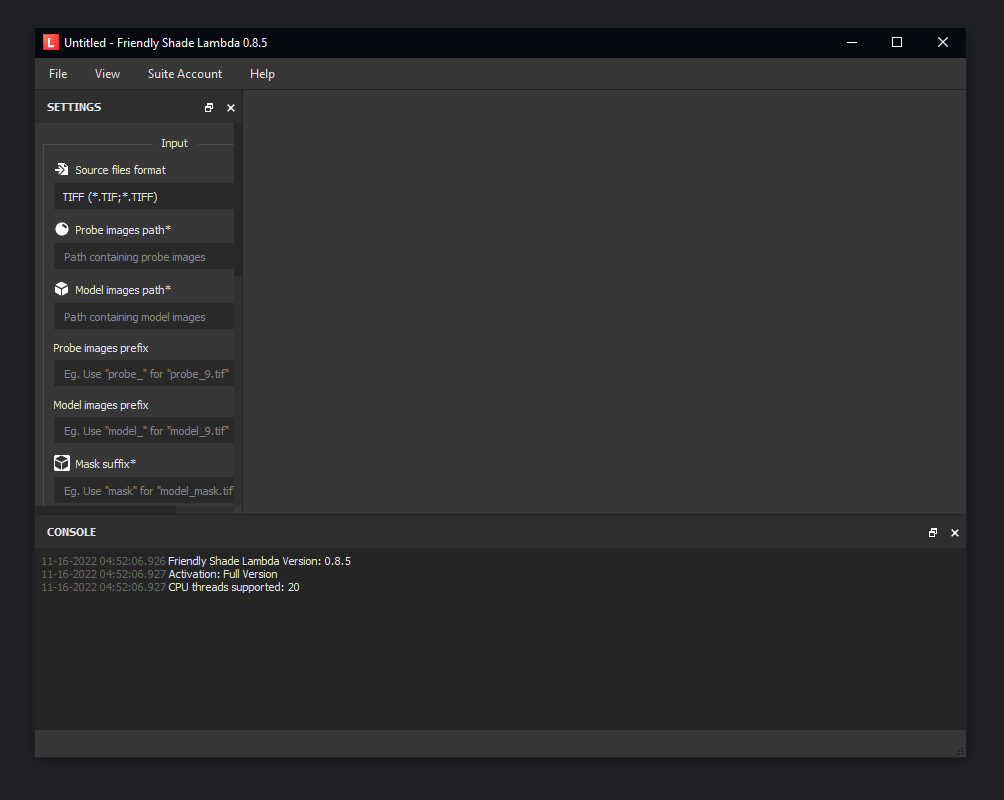
- Once you download Lamba, unzip the file and click on the Lambda.exe file. You will be asked to log in using your credentials. After logging in successfully, the program will start.
- You can start using Lambda.
Example
Here’s an example of how Lambda works so you can get a better understanding of it.
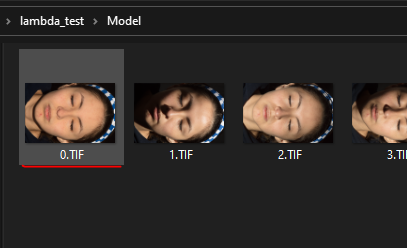
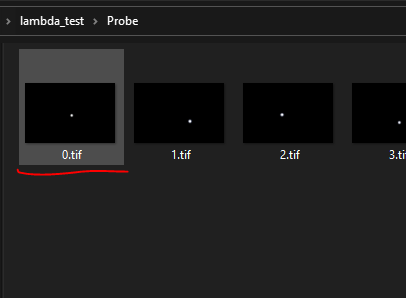
I will be using a set of pictures of a face scan.
- Let’s see the parameters:
-
Source file format: Format of the source files. Make sure both your probe and model file formats have the same format. You can choose TIF, JPG or PNG.

-
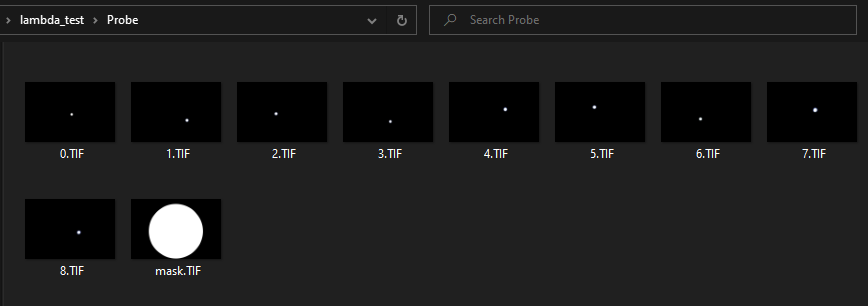
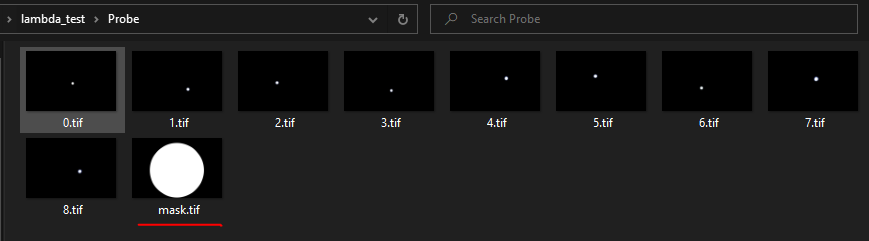
Probe images path: Paste here the path of your probe images. They must be in the same folder with the probe mask. (see the example below)

-
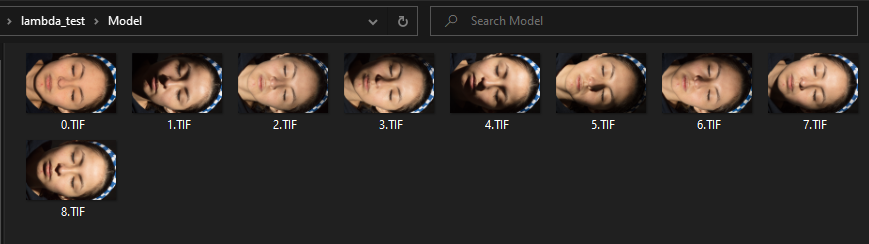
Model images path: Paste here the path of your model images. They must be in the same folder and optionally you can add a mask for the model. In this example, I’m not using one.

-
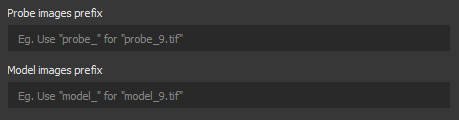
Probe images prefix/ Model images prefix: These parameters are optional, in case you’re not using a folder for the probe images and a different one for the model images, when all images are in the same folder you must use a prefix for the probe and model images so the software can recognize each of them (i.e. ‘probe_1.tif’, ‘probe_2’…‘model_1’, ‘model_2’).
In the example, I use separate folders for the images, so this is not necessary and I can leave it blank
-
Mask Suffix: Add here the suffix of your mask. This will be used both for the probe mask and the model mask if it’s added to the model folder.

-
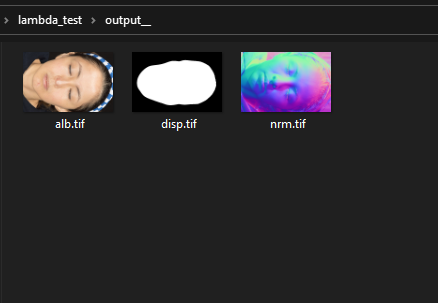
Output Path: Paste here the path where the output images will be saved after the process is finished.

-
Normals filename: Write here the name of the output normal map.

-
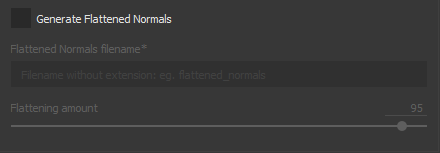
Generate flattened normals: Check this box if you’d like to flatten the normals. Flattening normals eliminates low frequencies (high pass filter), which means it helps to eliminate the bending created by the light fall-off.
-
Displacement filename: Write here the name of the output displacement map.

-
Albedo filename: Write here the name of the output albedo map.

-
Output file format: Format of the output files. Make sure both your probe and model file formats are the same. You can choose TIF, JPG or PNG.
-
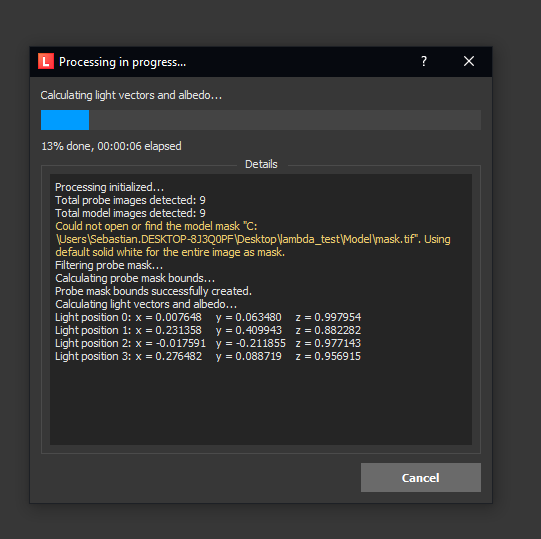
Once your configuration is ready, click on generate maps and a console like this will appear
-
Once the process is finished, you’ll find your files at the output path that was set previously.
Important notes
- Lambda works better with TIF files, JPG is still on testing and might cause bugs.
- Make sure that your probe files and model files have corresponding names so they can be processed correctly. For example, if you have the model image taken with the first light and the probe image of it, both must be named the same (i.e ‘0.tif’ in the probe folder and ‘0.tif’ in the model folder)
- Lambda is still in Beta, some functions are not fully completed yet. For the file paths, the folder icon is not opening the file finder, so the paths must be written manually. These updates will be added during this month.
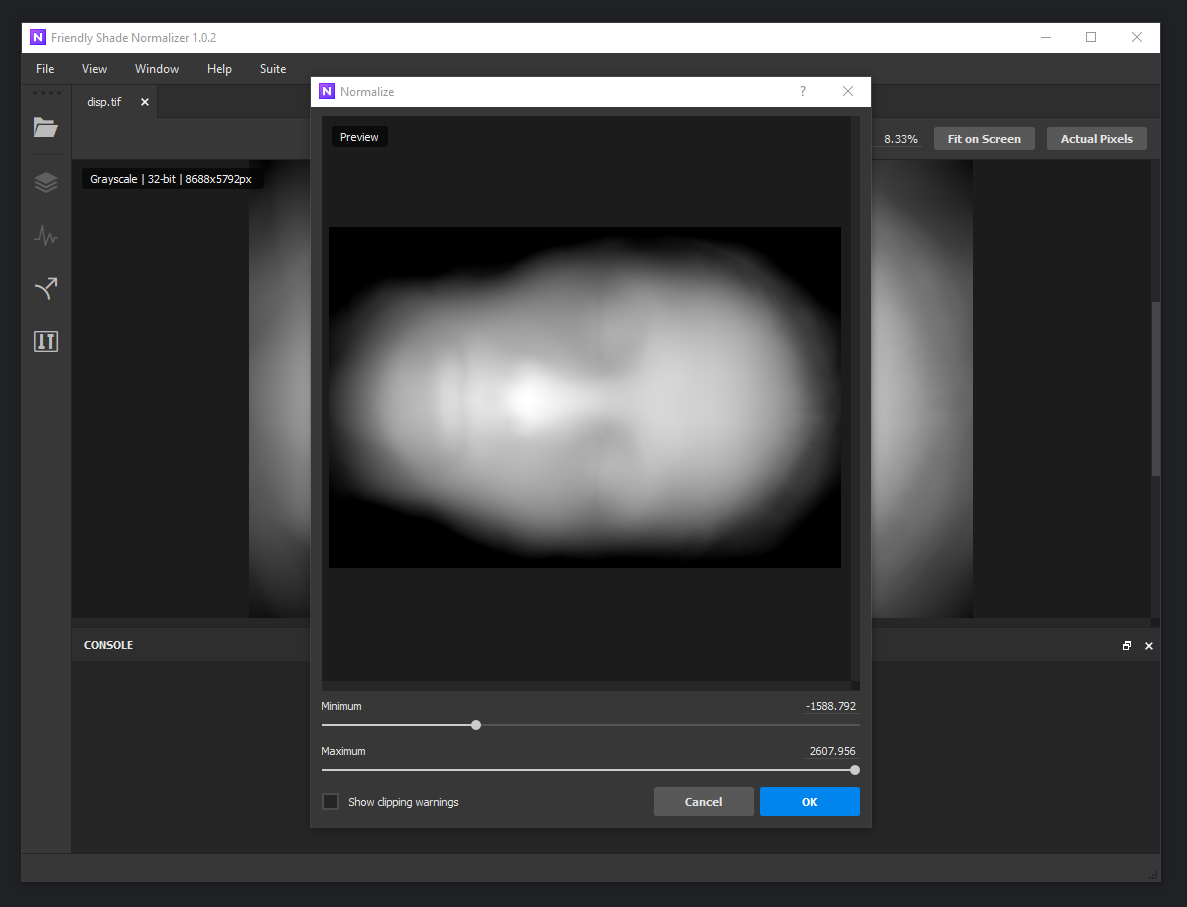
- The displacement map is saved as a 32-bit file. It will work perfectly in 3D software that supports 32-bit files, but if you would like to see it correctly you might need to use Normalizerand process the image in the following way:
- Open Normalizer and load your output displacement. (File > Open Image)
- Click on the last icon and a window like this one below will appear.
- Use the minimum and maximum sliders to adjust your image.