This guide is for Baker CLI 1.4.3 and later versions
Basics
- Download Baker Cli
- Run the installer.
- Once the installation is complete you will be asked to log in using your credentials. If the login is successful, the console window will close.
- You can start using Baker Cli.
How to start BakerCli and show help
To start Baker:
-
Open the command prompt, you can find it by typing cmd in the search bar of Windows.
-
In the command prompt, go to the BakerCli installation folder using this command:
cd path/to/bakercli
If you used the default installation path when installing the software you can do it by typing
cd C:\Program Files\Friendly Shade\BakerCli\
To get help from Baker:
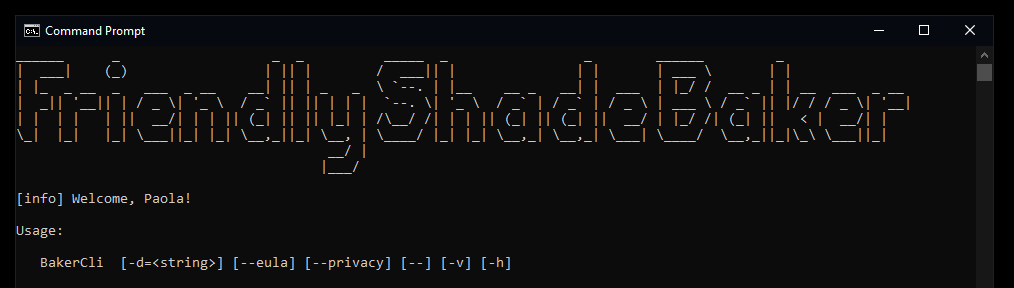
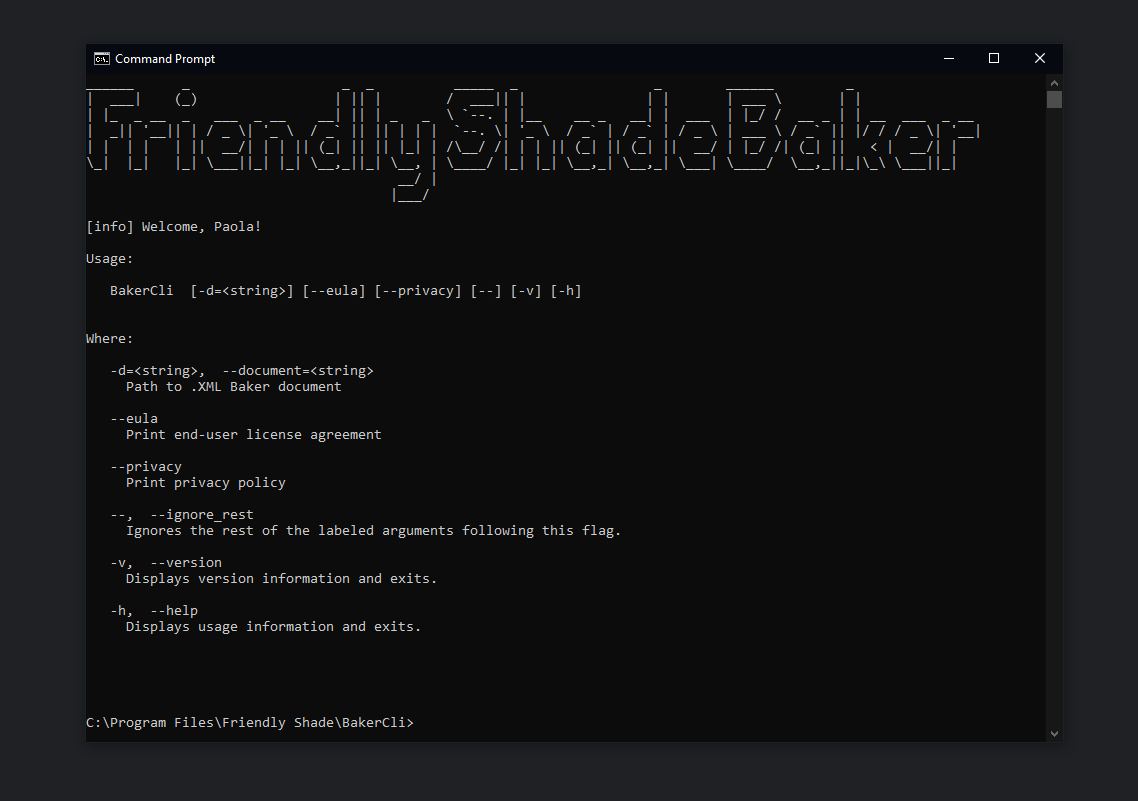
3. You can get help from Baker by typing the commandbakercli --help
or
bakercli -h


Updates
• On this version the parameters are no longer typed directly into the console, instead they’re configured by using a BakerDoc XML file.
• Added transformations for rotate, scale, and translate.
BakerDoc XML in detail and how to run BakerCli
Here’s an example of how BakerCli works so you can get a better understanding of it. The XML files I’m using are in the following zip:
bakerdocs_1.4.3.zip (1.7 KB)
*Important: These files are made for BakerCli1.4.3 and will not work with another version unless the version attribute is edited to match it (explained in detail below)
-
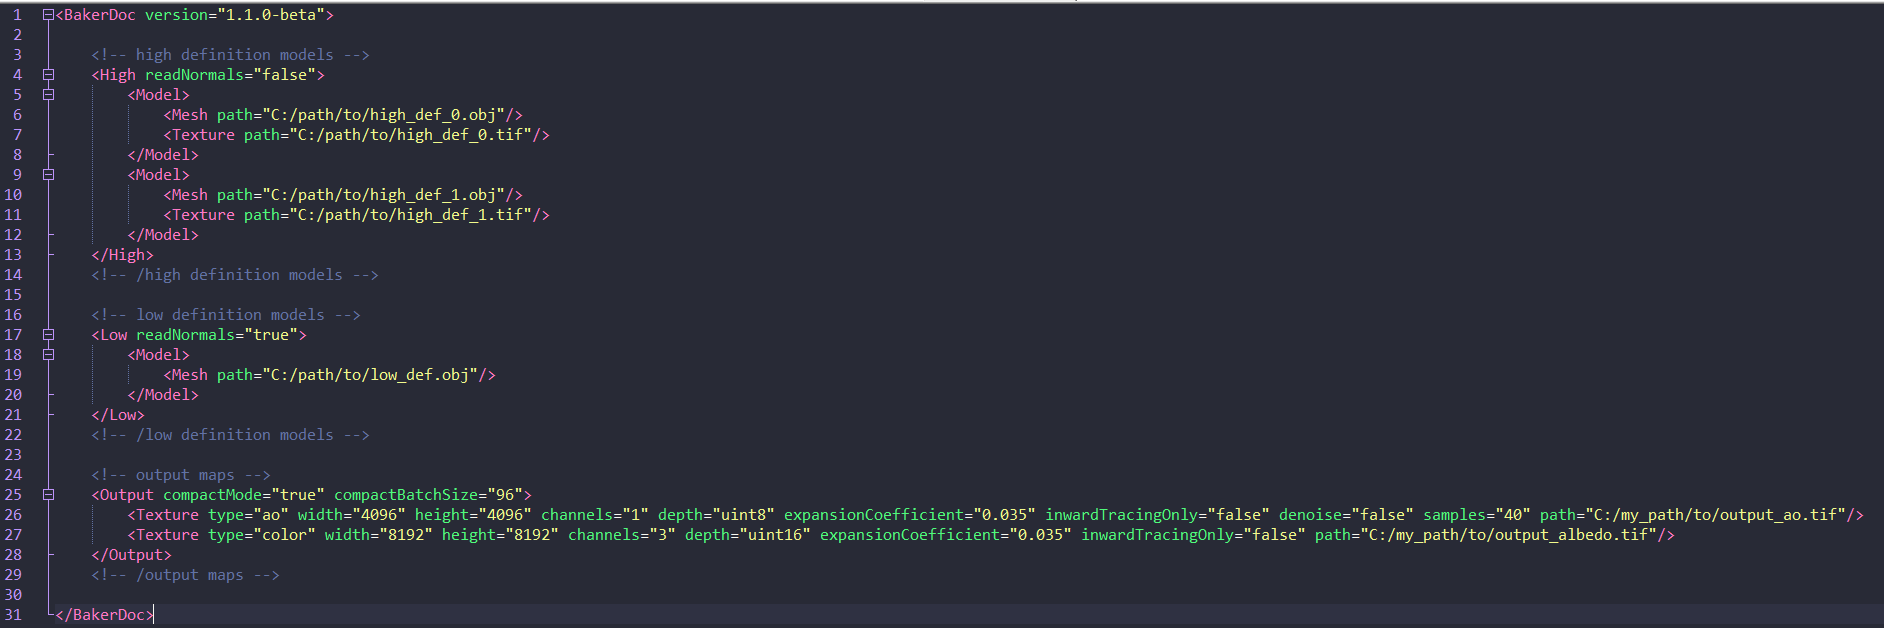
Let’s start checking the bakerdoc_example_document.xml file for reference :
The first thing we see is the tag
<BakerDoc>and next to it, the attributeversionthat contains the version number of Baker (in this case 1.4.3), this is necessary for the BakerDoc to be executed later.

In case you’re using a different version of BakerCli, please make sure to change the version attribute number to the one you’re using when creating your XML files. For example, if you were using version 1.4.4, your BakerDoc version attribute should look like this

High definition models
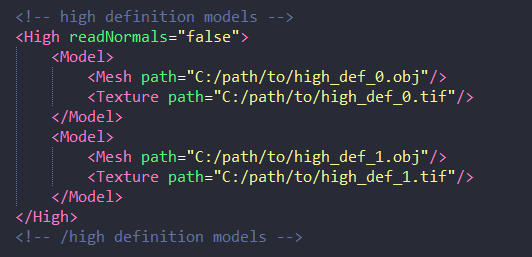
This is the
<High>tag, add here your high poly meshes. In order to do it, add the model using the following syntax:<Model> <Mesh path="path/to/mesh/mesh.obj"/>" <Texture path="path/to/texture.tif"/>" </Model>Additionally, you can set whether to read the normals of the models or not when processing, by setting the attribute
readNormals="true"orreadNormals="false"next to the<Hight>tag.
Low definition models
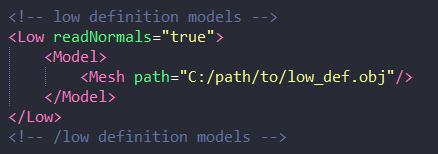
This is the
<Low>tag, add here your low poly meshes. In order to do it, add the model using the following syntax:<Model> <Mesh path="path/to/mesh/mesh.obj"/>" </Model>Note that for low definition models, you can only add meshes, not textures. Additionally, you can set whether to read the normals of the models or not when processing, by setting the attribute
readNormals="true"orreadNormals="false"next to the<Low>tag.
Output maps
This is the
<Output>tag, add here the parameters for the texture maps you will bake. Output texture maps can be added using the following syntax:<Texture type="color" width="8192" height="8192" channels="3" depth="uint16" expansionCoefficient="0.035" inwardTracingOnly="false" path="C:/my_path/to/output_albedo.tif"/>Let’s take a look at each attribute of the
<Texture >tag:type
type="color"This attribute will contain the name of the type of texture that you’d like to bake. These are the types available in BakerCli:
- color
- ao
- height
- normal
- world_normal
Note that the
colortype can be used not only for baking color but also for transferring texture maps from a high-poly mesh to a low-poly one.width
width="8192"This attribute will contain the output width of the texture. You will only need to write the number of your desired resolution width.
height
height="8192"This attribute will contain the output height of the texture. You only need to write the number of your desired resolution.
channels
channels="3"This attribute will contain the number of channels that the output texture will have. The channel count values available in BakerCli are:
- 1 // Grayscale
- 3 // RGB
- 4 // RGBA
depth
depth="uint16"This attribute will contain the bit-depth of the output images. The values available on BakerCli are:
- uint8 //8-bit
- uint16 //16-bit
- float32 //32-bit
expansionCoefficient
expansionCoefficient="0.035"This attribute represents the amount of shifting/inflation of the low-definition mesh so all faces are outside of the high-definition mesh, it must be a decimal.
inwardTracingOnly
inwardTracingOnly="false"If this attribute is set to true, rays will be cast only inward (to the opposite direction of the low-definition mesh)
path
path="C:/my_path/to/output_albedo.tif"This attribute contains the file path for the output map.
denoise (available only for ambient occlusion maps)
denoise="true"If this attribute is set to true, the ambient occlusion map will be denoised.
samples (available only for ambient occlusion maps)
samples="40"This attribute represents the number of ambient occlusion samples to be rendered when creating the AO map.
Additionally, you can set whether to use the compact mode or not when processing, by setting the attribute
compactMode="true"and its batch size with the attibutecompactBatchSize="96"next to the<Output>tag.

If the compact mode attribute is added, memory usage will be reduced drastically. All meshes are optimized so more polygons fit in memory. When used, baking is slower.Using everything explained above you can create your first BakerDoc XML file
-
Let’s run Baker
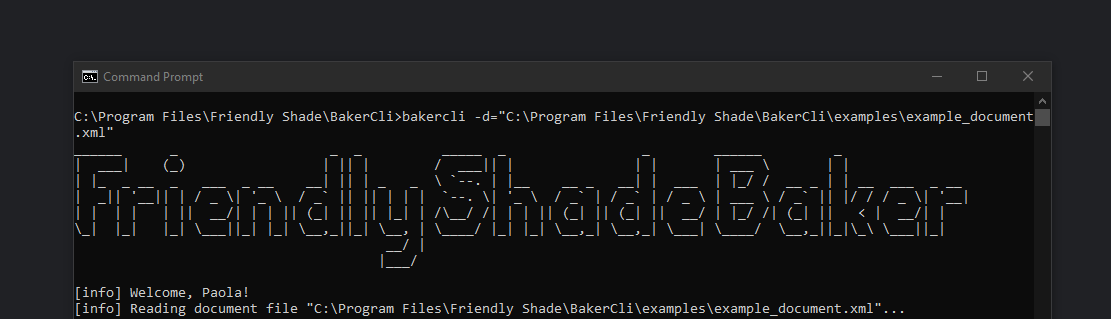
Now that the .xml file is ready, please open BakerCli using the command line (you can do it by referring to the How to start BakerCli section).
Once you’re in the BakerCli folder you might run Baker with the following command:bakercli -d=“Path/to/your/xmlFile.xml”
and Baker will start processing.